Friday, January 23, 2015

A pile of little cutter quilt squares...


How sweet are these little cutter quilt squares?
They were all being sold on eBay
and were all originally from the same quilt.
And they were all hand stitched. 
The seller stated that the quilt as a whole was a cutter,
so she cut them into these little pieces,
measuring 6 by 6 inches.

I love that some mix in a little black,
and that the reds have faded so much they look pink...


Some have this weird shade of green.
I surmise that the green was once blue,
but has also faded over time.
Sometimes old fabrics do that.
Working with these pieces may present a challenge.
I love challenges...


I see myself using these red, white and blue pieces
with some of my vintage patriotic photos...


I bought twelve pieces,
though the seller still still has some more for sale.

I couldn't resist stacking them up...


The top piece reminds me of a sailboat,
or perhaps a piece of an old schoolhouse quilt
(missing the door and chimney)...


I wonder what this quilt looked like when it was
all one piece,
and before the fabrics started to fade.
I wonder who used it and loved it.
And I wonder how it ended up being a cutter.

I bought these pieces thinking that I might make a 
patriotic banner with them in time for July 4th. 
It seems like I would have plenty of time to do that.
But then again, knowing me, maybe not!
In the meantime, maybe I'll just display them
in a basket in our upstairs guest room,
which is the only room in this house
 that has a touch of red.

What would you do with these?

*****************************************
Think creative thoughts.
It's better than nothing!


Thursday, January 22, 2015

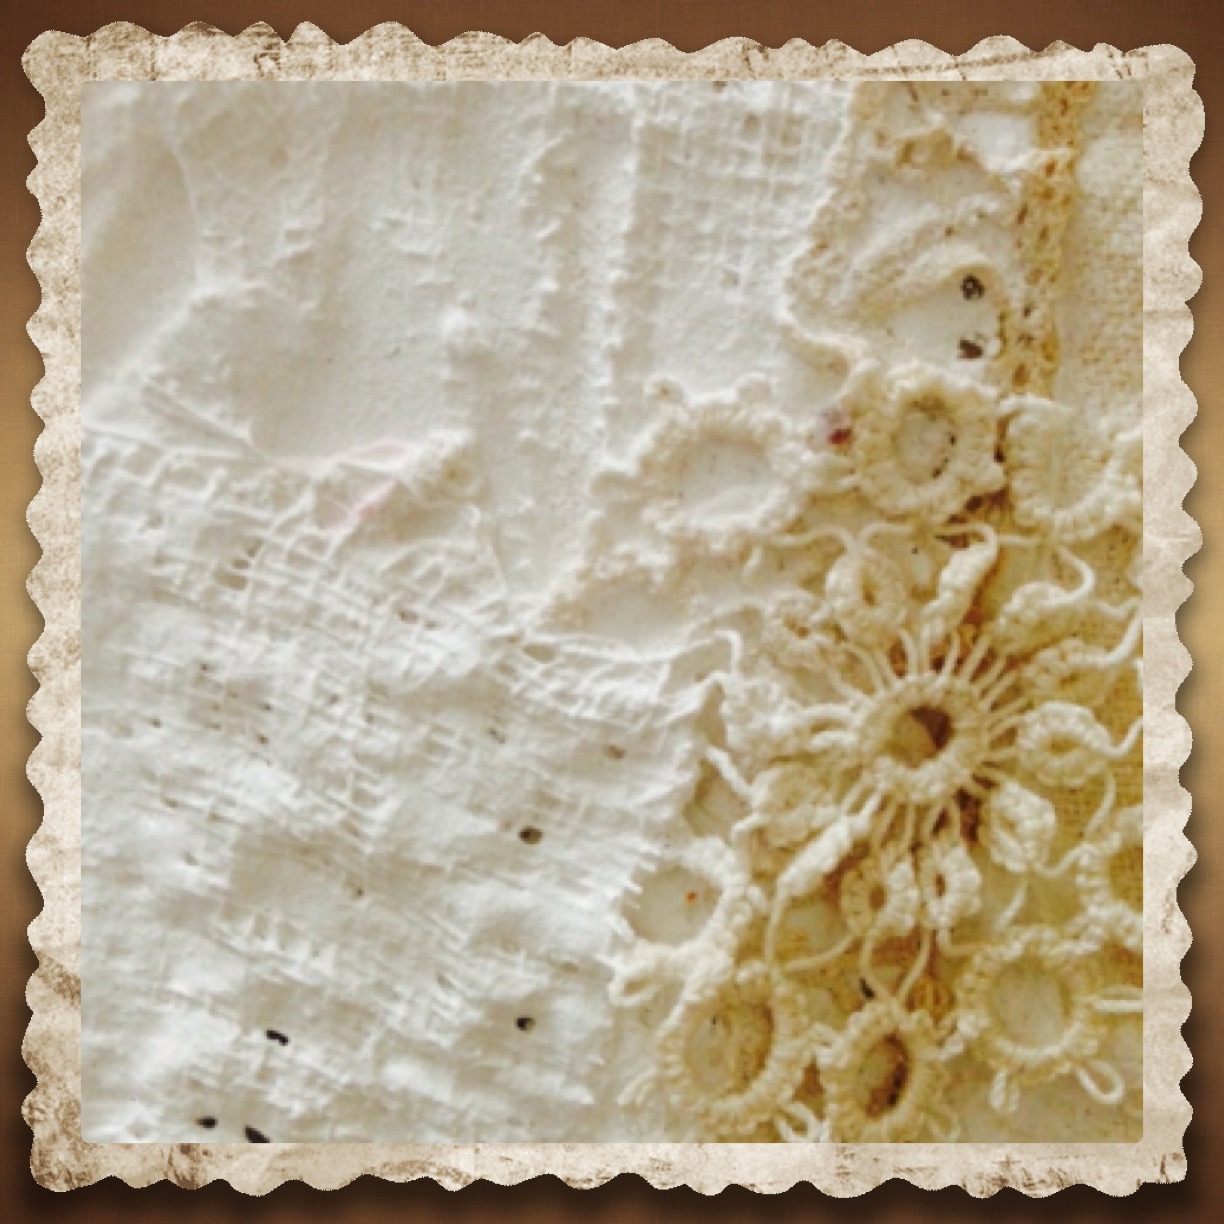
Plaster Cloth Wrap on Fabric: "Just Me and My Friends" fabric and lace collage...

Good morning!

Continuing with my post from yesterday, 
below is the collage that 
I made with the drop cloth fabric to which 
I had applied texture by using Plaster Cloth Wrap. 
(It is impossible to get a decent photo due to the 
low level of light in our house these days, 
so you may need to enlarge this photo.)
I made the little collage separately,
adding the photo, more laces
and embellishments to a piece of a vintage
hankie, which I used as the base.
I then glued the little collage to the textured
substrate fabric,
positioning it to the upper left
so that the best plastered areas would not be
covered up.
Don't you just love the photo of the sweet
little girl with her dolls in the carriage?...


I used my handy-dandy 
Crop-A-Dile to set the eyelets at the top.
This baby easily went through all 
the layers of fabric, plaster and lace...


In the spirit of Valentine's Day,
I couldn't resist using this beautiful
rhinestone heart,
along with some of my lovely
vintage velvet ribbon which I shared 
with you in a recent post...


I also began creating something with the 
burlap pieces, 
but that will have to wait for a future post.

***********************************
Have a peaceful and creative day!

Wednesday, January 21, 2015

Playing with Plaster Cloth Wrap on fabric...

Hello there!

The other day I had some time to play in my studio, so I decided to pull something out that I had worked on a while ago.Way back whenever, I was in an "experimental" mood, so I decided to try my hand at using plaster cloth to see what interesting textures I could come up with. I didn't really have any specific project in mind when I made it, except I knew that I would likely turn it into a fabric collage of some sort.

Below is the product that I used.
Pretty inexpensive to experiment with!
It comes on a roll that is 4 inches by 180 inches (10 by 450 cm).
I worked with about 12 inches at a time.
After dipping the strips, one at a time, into a bowl
of warm water, 
I placed each strip on my fabric piece,
scrunching as I went along, 
and created a first layer.
I then did the same thing again,
this time scrunching in different areas, while
incorporating vintage lace scraps
into the plaster, smoothing it in sections as I went along.
I covered some of the lace in some areas with the plaster...


Here is one larger piece that I did on
some canvas drop cloth material.
Towards the upper left you can see where
I left it a little flat so that later I could add something else.
You can also see where the plaster partially covers the laces...


In this more detailed photo,
you can see the mesh of the plaster cloth showing through
in some areas,
and where I made it smoother in others.
Use your fingers to smooth the plaster cloth 
until it gets as smooth as you want it.
You do not need to even dirty a paintbrush!...


The next few photos show more of the detail.
I left the canvas frayed on the edges 
as I liked the scrappy look...


For the three samples below,
I experimented with small burlap pieces...


For this one I used a larger scrap of lace...


...and on this one I used no lace,
but liked the built up texture 
near the center...


For this one I just used a small piece of lace...


Here are some photos that show more detail...


And this last photo shows you what the reverse side looks like.
Kind of interesting in itself, I think...


So what exactly did I make with these? 
I did make something with the larger piece 
from the drop cloth.
In my next post I will show you what!

Have a great evening!


Sunday, January 18, 2015

"Phonto" Photo Editing App: Cowgirls of the Old West


Good morning!

As promised, here is the additional information on "Phonto", the last of the photo editing apps that I played with this past week.

The additional feature of this app is that you can curve the letters and words that you use, so on the above edit, I curved the words around the circle. The photo below is the original, and I ran it through "Tangent" first to encircle the cowgirls, then through "Vintage Photo Frame", and lastly through "Phonto" to add the curved lettering.


I love this old cowgirl photo that is
part of my collection.
Feel free to use it as you wish!


Saturday, January 17, 2015

"Phonto" Photo Editing App: Memories of Home


"The thrill of coming home
has never changed."
--GUY PEARCE


I played a little more with photos this week (fancy that!) after discovering a very nice app for inserting typography on your photos. It is free (hooray) and trust me when I say that it would have been worth paying some money for. It has a large number of fonts to choose from, is easy to use, and you can save your fonts and words, which makes it really easy to watermark you photos if you so desire. The added bonus of this app is that after you upload one photo, you can upload a second and superimpose it over the first, as I did with the little girl above (you will recognize her from a previous post). I was then able to manipulate the degree of transparency of the little girl.

So here are the photos that I used for the above edits.

You may recall this photo,
which I took last summer along the coast of NH...


Below is what it looked like after I ran it through 
the "Vintage Photo Frame" app
that I talked about the other day.
I love the primitive look that it now has...


Here is the original photo of the 
little girl.
Only a portion of this photo was 
superimposed over the house...


All photos above are yours
if you want them.

In my next post I will show you another feature of "Phonto". I hope that you have a great day!