
So the day before we left I told Mr. Perch that I was going to dry some flowers. To spare myself odd looks and strange comments (he made it clear that he thought it was weird that I would spend the time cutting hydrangeas when I had so much to do-HA!), I got up early on the morning of our departure, before he woke up, ran outside with scissors and vase in hand, and cut and trimmed several hydrangeas. I also took the tired bouquet up to my studio and prepared the flowers for drying.
Following are some photos of my ventures in flower-drying!
As the sun is coming up...

...I set out in search of which hydrangeas
I will want to cut.

These are Blushing Bride.
White with a touch of blue.
Certainly beautiful, but not enough there to want to cut them...

I decide to cut some from a variety of other bushes,
leaving long stems, trimming the leaves,
and putting them in a vase of water.
I have read that you should leave them
this way until all the water has evaporated.
If the blooms are not dried out by this time,
keep adding water until they are.
They are placed on the screened porch...

...along with some white hydrangea,
prepared the same way.

Then I trot into my studio to work on the bouquet.
Here are some that I have chosen to use,
along with some others in pink and white...

I find a large, heavy book with pages in it that I don't care
that much about...

I open it up to a page near the back,
and add two paper towels to the top of the page...

I begin with these pink blossoms.
The stems have been removed.
The one on top is face up.
The one on bottom is face down,
and shows where I have cut the stem
near to the blossom,
so that it lays flat,
but not so close that the petals come apart.
They have been placed on the two
paper towels...

I cover the blossoms with two more paper towels,
and cover that first layer with a few more pages
in the book...

I add two more paper towels and more trimmed blossoms,
again covering them with two more paper towels,
flipping more pages on top, and...

...do the same thing for the next blossom,
which is quite large...

I now have three layes of flowers.
I close the book, and end up with this.
The book will not close all of the way...

...so I stack several more heavy books
on top, forming a pile.
I also pile some books behind these
so that the stack will not topple over...
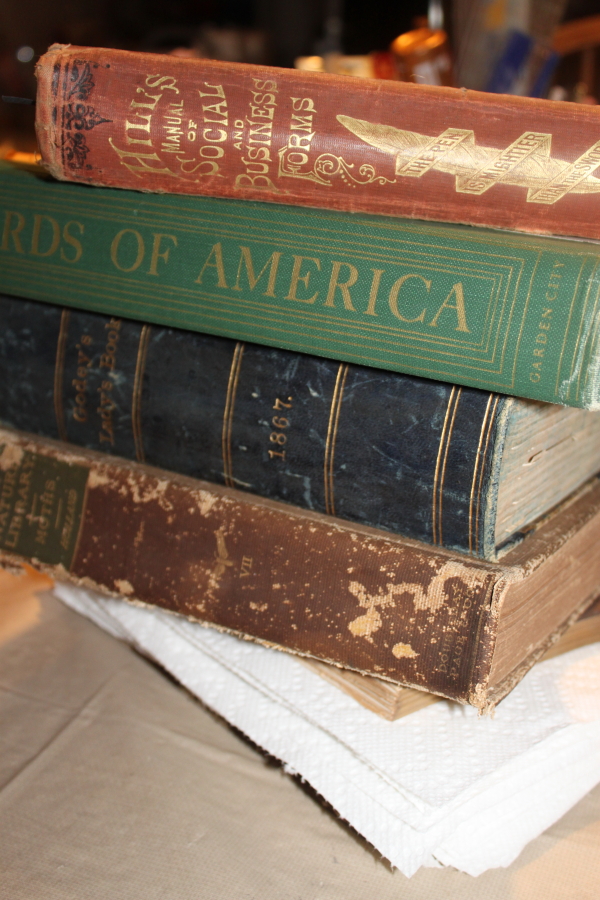
By the way, I placed the below book on top.
It is one of my favorite old books and will share some of it
with you in a future post...

Here is my ravaged bouquet...


No comments:
Post a Comment
Thank you for taking the time to comment on this post!